Aurora photography is an interesting thing for anyone with a camera. The fact of the matter, at least in my experience, is that the aurora is not often easily seen by eye.
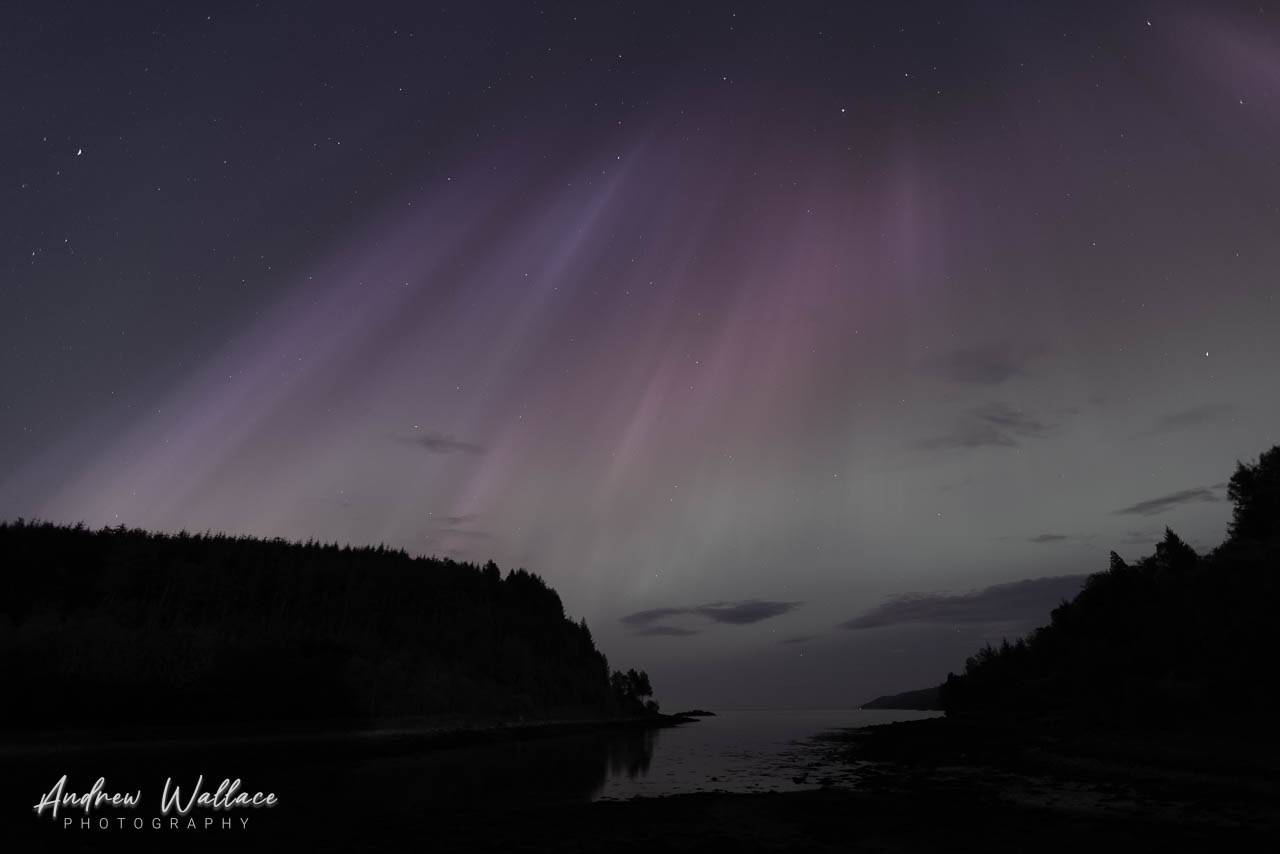
When you are out in the darkness, even when the aurora is at its strongest, the most you will see are pale pastel "clouds" that dance gently around the sky. The picture to the right is my best approximation of what is visible. This picture was taken on 10th of May 2024, when the aurora was visible across the whole of the UK, and possibly the strongest it has been for decades.
On this night, the impression that I had was of a huge dome above me, cathedral like. It was awe inspiring, and compared to the twilight, the colours were bright and vivid.
What a camera sees however is remarkably different. With its light gathering abilities, resulting from long exposures, the colours are significantly enhanced.

Deciding when to head out in the cold and dark is the first part of the challenge. I use 2 apps on my phone - Glendale Aurora Alerts and AuroraWatch. They both provide me with alerts as to when the sky is going to be active. I also watch local Facebook groups and keep an eye on the weather. After all, you need a clear sky - although one image I have taken that I really like is the aurora behind a passing rain cloud.
Pack warm clothes, if it is the winter time, as well as a flask of tea and a torch. A red headtorch is ideal as it won't affect your night vision too much.
So how do you take a picture of the Aurora? The first thing you need is a stable camera. After all, you are going to have the camera shutter open capturing light for a while - certainly longer than I can hold a camera still. So make sure that it is on something that won't move, ideally a tripod, but a beanbag or rock will suffice. Then make sure that you are using the fastest and widest lens you have. I have both APSC (Fuji) and full frame (Canon) cameras, and the most suitable lenses are (1) a Viltrox 13mm f/1.4 for the Fuji APSC and (2) a Canon EF 16-35mm f/2.8 for the full frame. These lenses give me the maximum light capturing ability and the widest field of view.
The second stage is camera settings, and I would start with the following. The widest aperture possible (so in my case f/1.4 or f/2.8), a shutter speed of around 8-10 seconds and ISO of around 800. You will need to experiment with your camera to see what settings allow you to collect enough light to see the aurora colours. Also enable the camera's 2 second shutter or use some kind of remote shutter release. Older cameras might have a cable, and newer ones can be triggered by an app on a phone. This is important, as it will prevent camera shake when you press the shutter button.

The final thing to consider is focusing. Given that it will be dark, any camera is going to struggle to automatically focus. To overcome this, switch your camera to manual focus, and adjust the focus so that any stars or distant lights that you can see are as small, bright and sharp as possible. A focussed star will look like a very white bright dot.
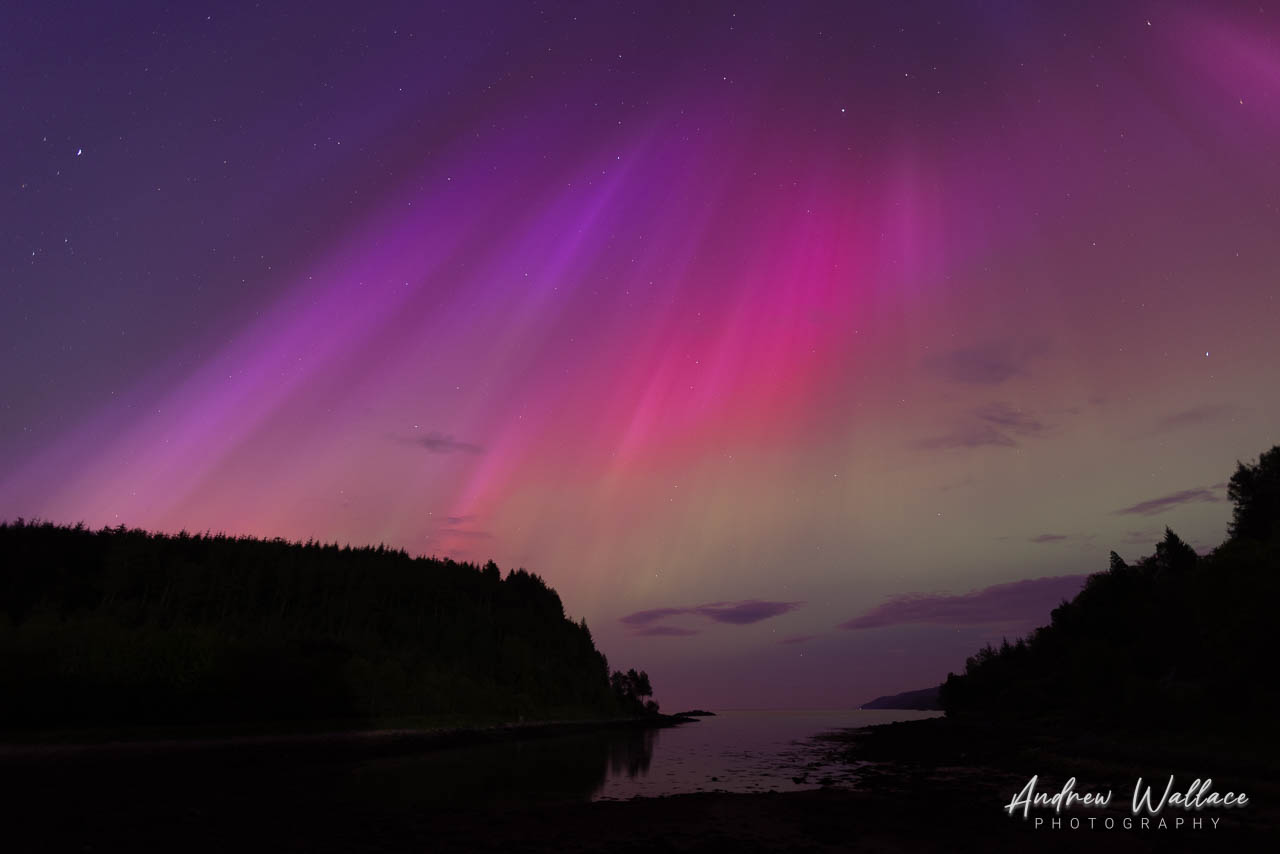
With all of this done, point your camera at the sky and, if you are very lucky, you will end up with something like the picture on the left.
This image is direct from my camera, with no editing at all, and is actually the same picture as the first image, which was heavily edited to approximate what was visible by eye. You can see that the camera's light gathering abilities have done their magic and enhanced the colours.
Here is the first problem. Although this image is direct from my camera, it is a deception as it was not what I was able to see with my own eyes. The first image is also a deception as it is a heavily edited camera image. So you have to accept that this is where the art of photography starts. Everything from now on is down to your own personal taste.
I shoot RAW with my cameras, as it gives me the greatest latitude to develop images, and Adobe Lightroom is my tool of choice for that development. Development of aurora images is absolutely down to personal taste. After all, you are creating an image that was not visible by eye - so it is totally up to you to determine what looks right. If subtle colours are your preference, then go with that - equally vivid colours are also not considered bad. It is totally your choice.
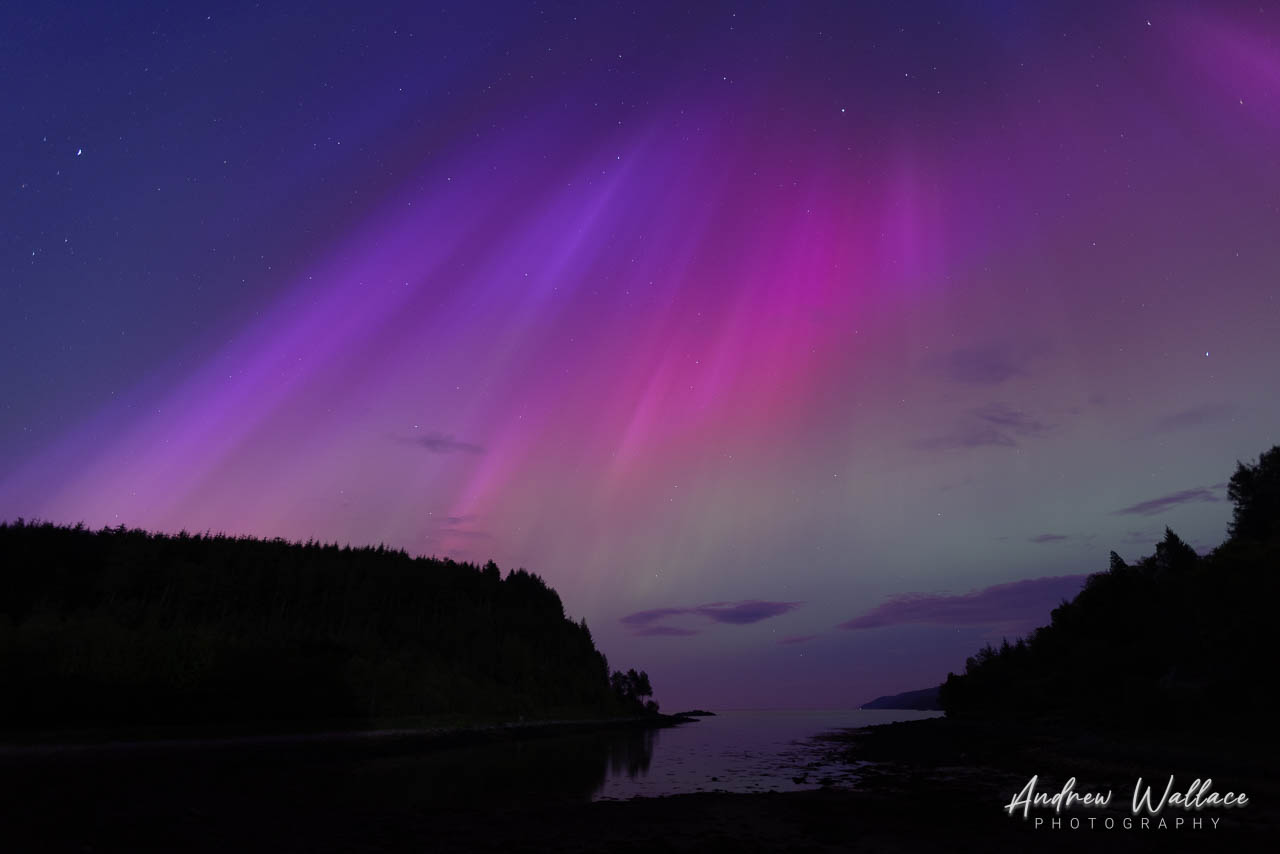
I am led to believe that the first thing that needs to change is the white balance. Images captured at night are in similar conditions to fluorescent lighting, with a colour temperature of around 4000 Kelvin. If I apply that change to my image, I get the 3rd image below.
So you can start to see how the image is developing. The sky is now more blue and the aurora is shades of purple, reds and greens. This is considered to be a more accurate representation of what is going on in the sky.
I still haven't done any real editing. No changes to saturation or exposure, nor lifting of the shadows or lowering of the highlights - all of which are commonplace when editing landscape images for example.
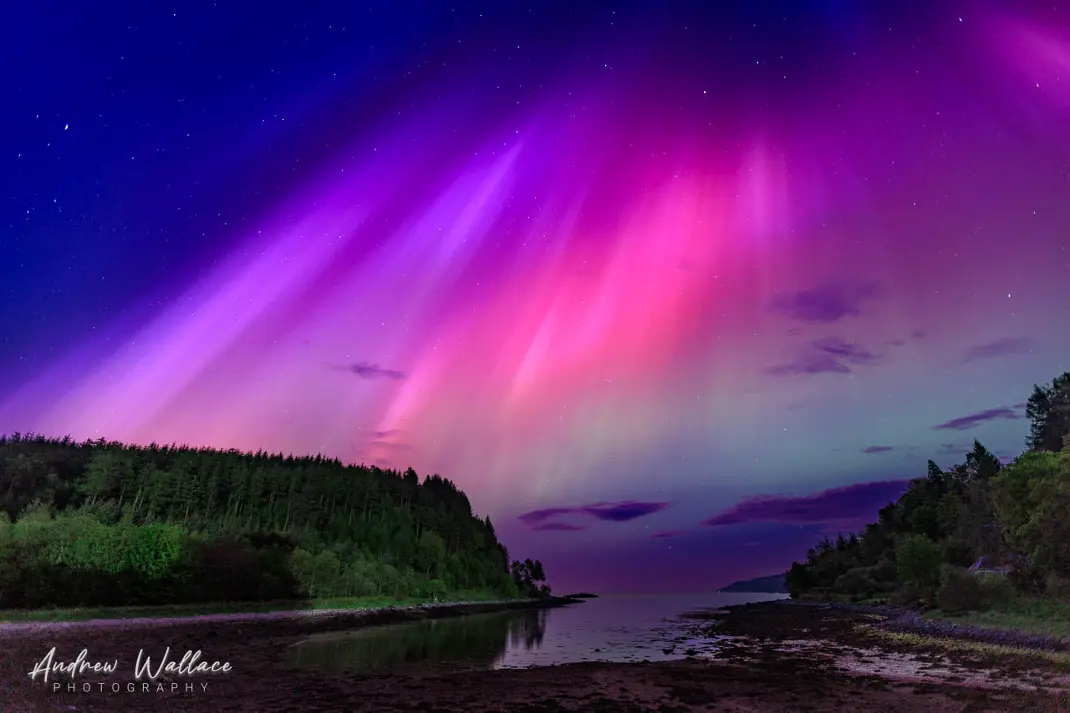
These aren't ordinary landscape images though. If I were to apply a commonly used preset on this image, I would end up with a very bright and extremely colourful image that might not suit your taste - but again, it is your taste, not anyone else's. Remember that none of this was visible to the eye.

So where did I end up with this image. Well I remembered what if felt like to be under this sky - awe inspiring - and so I decided to try and recreate that feeling. In addition I spent some time recovering the shadows of the hills and shoreline. My final image is the one below - well final for now, as I am still learning, tweaking and hopefully improving what was a very memorable evening of aurora photography.

Aurora photography